Introduction
Loyalistic API is a Representational State Transfer (REST) API, providing access to most of Loyalistic functionality. You can use it to integrate your own applications with Loyalistic.
Getting Started
Since Loyalistic API is a REST API, working with JSON (JavaScript Object Notation) objects, it’s easy to start experimenting with it. You can use any REST client, but we are using Postman in these examples.
Getting the API Documentation
Loyalistic API is documented using the OpenAPI/Swagger specification. You can use the specification directly to create your own API client, by using for example Swagger Editor.
The most up-to-date documentation can be found at https://api.loyalistic.com/v1/swagger and the Swagger specification in JSON format at https://api.loyalistic.com/v1/swagger/docs/v1.
Registering Your Client
Each request to Loyalistic API needs to be authenticated. The authentication is done using the OAuth 2.0 Client Credentials Grant flow, which means you must first register your client with Loyalistic before you can get access.
You can register your client and get the client credentials at https://app.loyalistic.com/Suite/Settings/ApiKeys (you need to be an Admin to access the page). The steps are as follows.
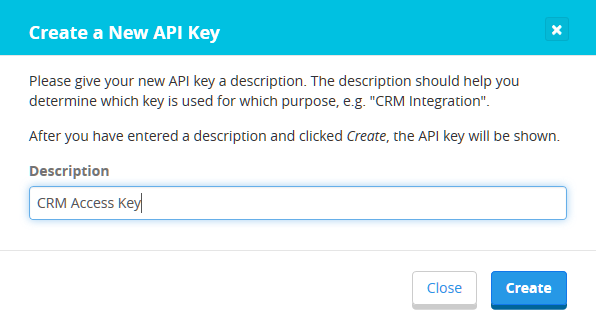
- Click on the Add a new API key button.
- Enter a description for your key, such as "CRM Access" and click Create.
- A new Client ID with a Client Secret will appear. Save those to a secure location, as they are used to access the Loyalistic API. This is the only time the Client Secret will be shown.
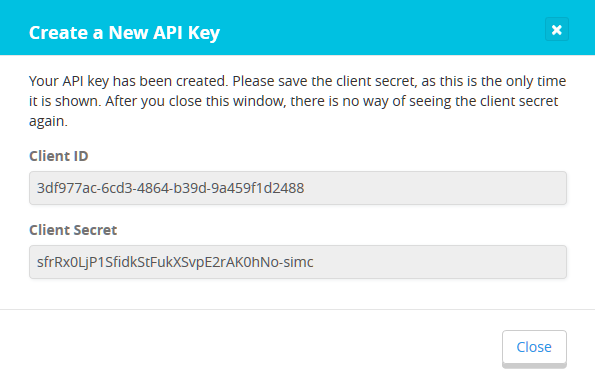
- After you have saved the credentials, click Close. The new key will be added to the list of API keys.
Using the Crendentials (in Postman)
In the OAuth 2.0 Client Credentials Grant flow you will use the registered API key (Client ID and Client Secret) to get a token from an authentication server. You then use that token to access the API, sending the token with each request in the Authorization header.
In general, these are the steps needed to access the API:
- Send a POST request https://auth.loyalistic.com/oauth2/token.
- Use Basic authentication and send your Client ID and Client Secret as the username and password.
- Add one form field, "
grant_type" with the value of "client_credentials".
- If the sent credentials were correct, the authentication server will respond with a JSON object, containing the access token ("
access_token"), the type of the token ("token_type") which will always be "bearer" and the token validity time in seconds ("expires_in"). - Send your request to the Loyalistic API (e.g. "GET https://api.loyalistic.com/v1/lists/") with the following header:
Authorization: Bearer {put the access_token here}
This is how you do it in Postman:
- Under the request URL field are several tabs. Select the Authorization tab.
- In the Type select box, select "OAuth 2.0".
- Click the Get New Access Token button.
- Enter the following details (others can be left empty):
- Token Name: some name for your token, such as "Loyalistic API".
- Access Token URL: https://auth.loyalistic.com/oauth2/token
- Client ID: {your registered Client ID}
- Client Secret: {your Client Secret}
- Grant Type: Client Credentials
- Click the Request Token button.
- After successful login, the window closes and the new token will appear in the Existing Tokens list. Select the token you just requested, and click on the Use Token button on the right. The token will be added to the request headers as a
Bearertoken. - You can now make the requests. The token is valid for about 10 minutes. After the token expires, repeat steps 2-6 to get another token.