Posts in How To

How to share a Video with Loyalistic

Monday, October 11, 2021

This guide shows how to share a video in Loyalistic.

Scenario: You have a canned video, e.g. recorded webinar, you want to share with leads, but only after they have filled contact information form.

The video will be streamed from YouTube.

Uploading video to YouTube

YouTube is great way to stream the video as most devices have a YouTube app for optimum viewing experience.

  1. Upload video to YouTube
  2. Change privacy setting to Unlisted video (instructions)
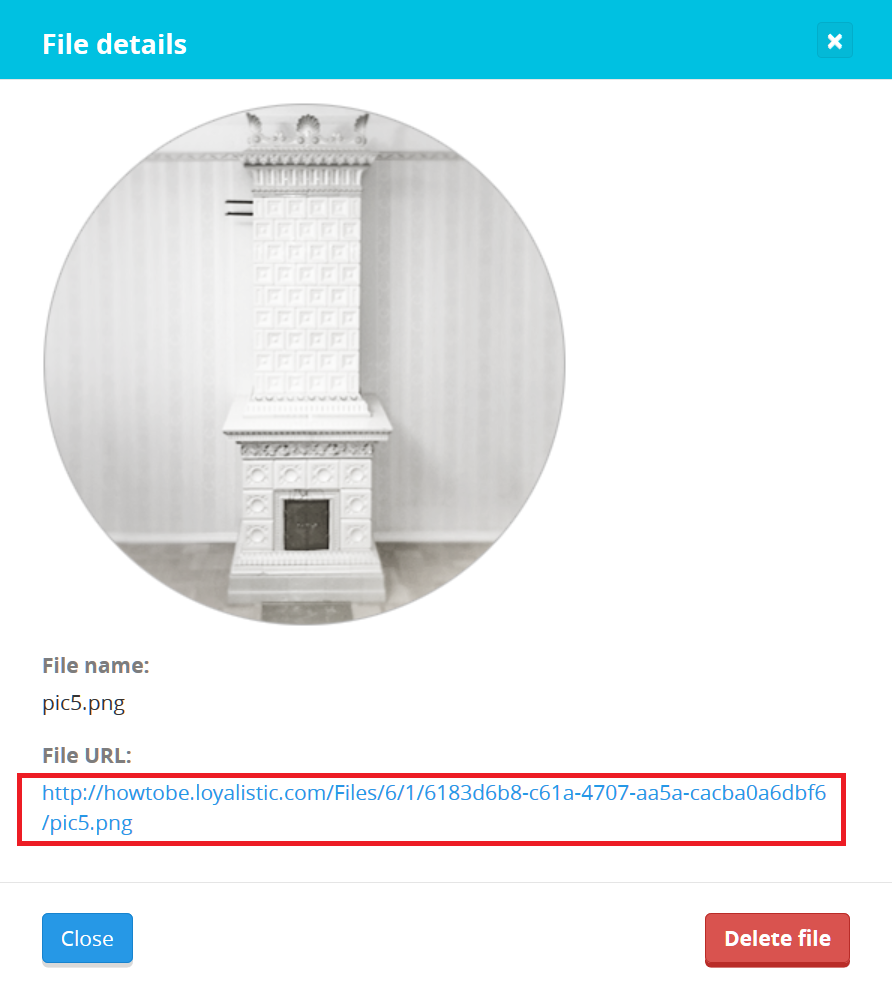
  3. Copy the URL
Unlisted Video means the video is accessible only with the special URL. It's cannot be searched or is not listed in your YouTube profile.

Create a Honey Pot
  • Select URL -option, paste Video URL as the bait URL.
  • Write Landing Page copy
  • Select field for Lead Capture Form
  • Edit Submit-button text to something like "Watch webinar now"
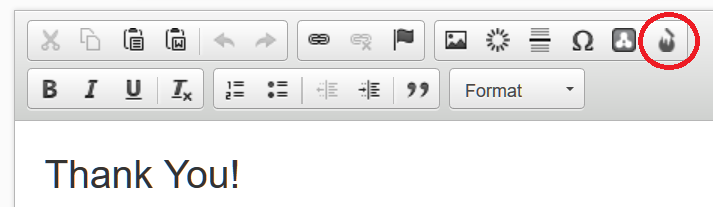
  • Write Thank You -page copy
  • Use Promote-tools to promote your video to your social media followers, email lists and create a Call-To-Action button to market the event at your web site.

You are now done.

Remember to create Lead Nurturing Program to remind viewers about your company and other content that might interest them.

Arrange an Marketing Event with Loyalistic

Monday, October 11, 2021

Arranging an marketing event, like breakfast seminar, can be a quite a lot of work.

  1. Create a Program Page online
  2. Create Registration Form
  3. Create Thank You page for those who register
  4. Create Thank You email for those who register
  5. Promote Your Seminar or Event to Social Media
  6. Promote Your Seminar or Event by Email
  7. Remind those who have registered

Luckily you can complete all these in a few minutes with Loyalistic. Here's how:

Create a Honey Pot

  • Select no bait -option
  • Write program to the landing page
  • Select field to require for registration
  • Add event details to thank you page and email as a reference.
  • Use Promote-tools to promote your event to your social media followers, email lists and create a Call-To-Action button to market the event at your web site.

You are now done for a while. Remember to log in freqently to check how many have registered, so you know whether you need to promote your event more. If so, use the Promote-tools to do just that.

Reminding Attendees

To minimize no-shows, smart organisers remind attandees few days before the event. This is also a good place to provide practical information about the event, like how to arrive to the event (address, public transport, map, parking). Attendees may have not been at the venue location earlier, so you might also give instructions of how to find your way once you have arrived to the right address.

To create reminder email, select Email-tab.

Recipients: Select your event's attendee list

Dashboard numbers explained

Monday, October 11, 2021

The Loyalistic dashboard shows you the key numbers in a glance. You can see how your content marketing operation is running and how well you are attracting leads.

Adding images to Loyalistic

Monday, October 11, 2021

Need to add images to a Honeypot landing page or to a blog post? You can upload them to Loyalistic and use them wherever you want.

Uploading files

To upload files, click on the gear icon on the upper right corner and select Files & Images.

When the Files page opens, click on the Upload... button. Select the file and click Upload.

When the file has finished uploading, click on the file on the list. The details window opens where you can see the public URL (File URL) of the file. You can use this URL to add images to a Honeypot, blog post and more.


Using an image

To add the image for example to a Honeypot landing page, use the Image function in the text editor.

The the image properties window opens, paste the file URL to the URL field. Then click OK and you're done.

Adding a bait link to Honeypot

Monday, October 11, 2021

You can add a bait link to your Honeypot's conformation page and email by clicking the Add link to file icon on the editor toolbar (see image below).

This will insert a {link} placeholder, which will then be replaced automatically by Honeypot when a user fills out the form.

If your bait is a file, the {link} text on the confirmation page and on the email will be replaced by a link button with text "Download" (or "Lataa", if you have selected the Finnish language), leading to the bait file. If the bait is an URL, the {link} text will be replaced by a link to the bait URL. There will be no description text on the link. It is not possible to change the link text.

If you decide to add the {link} placeholder by hand, make sure that the placeholder does not contain any formatting or additional characters, just the text link inside curly braces. Otherwise Honeypot will not be able to replace the placeholder with the correct link.

Adding a custom link

If you need to add a link to an external URL with a custom text (e.g. "See the video here"), you need to circumvent the standard link adding methods. Basically you need to skip adding {link} placeholders altogether and add the links manually. Just do these steps:

  1. In "What's in your bait?" section, select "Nothing".
  2. Add the links to the confirmation page and email by using the editor's link button (see image below).
1 – 5 / 17